Speed Paint Challenge #2

Happy Miniature Monday! These are some exciting times, my friends. What recently started as an every-other-week challenge to a fellow miniature painter seems to have gained momentum. I started using a #speedpaintchallenge hashtag on Twitter and with the help of a few retweets, now more miniature painters are joining in. Hooray for social media! I can't wait to see what everyone comes up with. Last week, it was decided that the Speed Paint Challenge would be Reaper Miniature Bones #77131. 

The Rules: 4-hour Limit. 7 Colors + Black & White.

My Paint Color Choices · Left to Right:

  1. Leadbelcher [Citadel]
  2. Blue Liner [Reaper]
  3. Muddy Brown [Reaper]
  4. Deep Red [Reaper]
  5. Blood Red [Reaper]
  6. Golden Highlight [Reaper]
  7. Golden Shadow [Reaper]
  8. (Black) Brown Liner [Reaper] 
  9. (White) Linen White [Reaper]

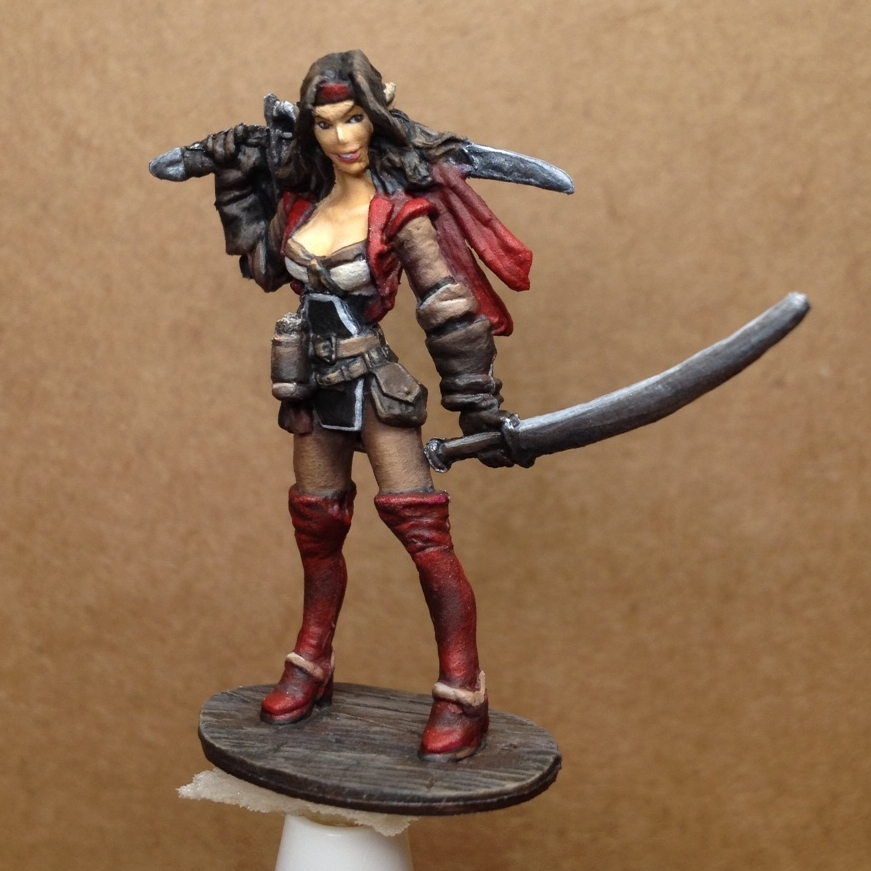
The Results


Work In Progress Photos

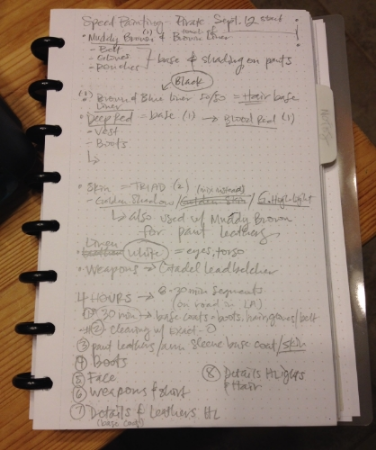
My Approach

I decided to break down the time limit to eight 30-minute increments. I keep notes on paint color and overall strategy throughout the process.

  1. Base Coats: Boots, Hair, Gloves, Belt
  2. Cleaning up sections with Exact-O (since I didn't have access to one earlier)
  3. Leather & Skin Base Coats
  4. Boots (my favorite part of this mini) 
  5. Face
  6. Weapons & Shirt
  7. Details base coats (belt, pouches, torso section), Highlight Leathers
  8. Details highlights, Hair Highlights, Base

So there you have it-- another Speed Paint Challenge completed! Once again, I gained some great experience in both speed and skill. I stand firm in my belief that a little pre-planning goes a long way when painting within time limits. I'm really happy with how she turned out given only 4 hours. In fact, I have the sudden urge to go out and buy a matching pair of those awesome boots!

Infinity Hacker WIP

Happy Miniature Monday! Yesterday was rainy-- the type of weather that makes it impossible to tell the time. A perfect day for painting! This weekend I realized that I've been unwittingly putting off painting my Infinity miniatures due to their small size and delicate assembly. So yesterday I decided to start my first Infinity miniature-- a Djanbazan Hacker.

First, I picked out a precast base for her and went with one of my desert wasteland options: 

After the preliminary dance of cleaning, assembling & priming, I made some significant progress. I wanted to paint her in more Earth-based/camouflage colors and give her clothing a sandblasted look to them. So far so good!

My biggest challenge here is to avoid obsessively blending my colors. I want her pants to look like well-worn twill-- a sturdy fabric that has faded over time. I'm not quite there yet, but I'm getting closer. Right now, they look too clean so I'll probably mute the highlights with some subtle glazes. I'll see how the rest of the miniature turns out before I go back & fuss over the pants. Here's a WIP picture after I painted the front of the pant fabric:

Speed Paint Challenge · The Process

Happy Miniature Monday! As you may know, last week I invited a fellow miniature painter to join me in a Speed Paint Challenge. I cataloged each step of the process so I could share it here! First, my painting setup:

Clean brush & mounted mini? Check. Chilean wine? Check. Wet palette & water cup? Check. I'm ready to go! (Though I don't recommend placing your beverage of choice too so close to your paint water... for obvious reasons).

The Color Palette

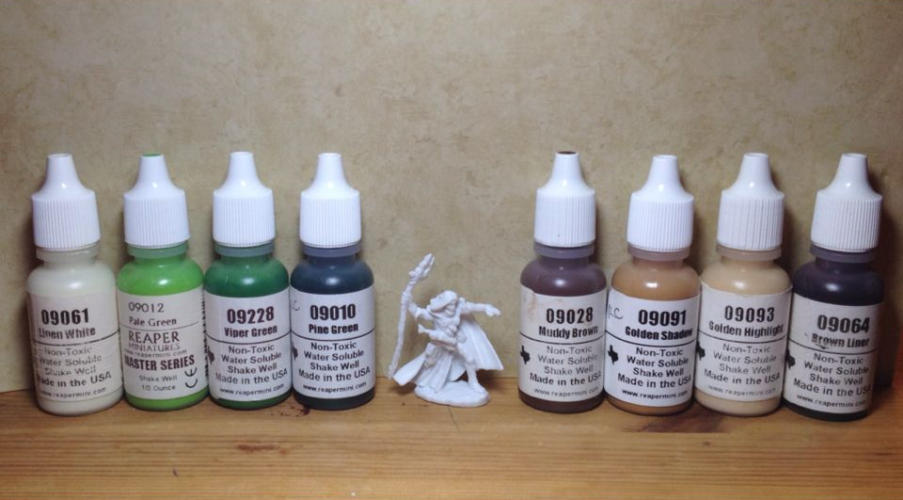
Color Limit: 6 Earth Tones, 2 Neutrals [+1 Metallic if needed]. My choices from the Reaper paint line:

  • Neutrals: Linen White, Brown Liner
  • Greens: Pale Green, Viper Green, Pine Green
  • Browns: Muddy Brown, Golden Shadow, Golden Highlight

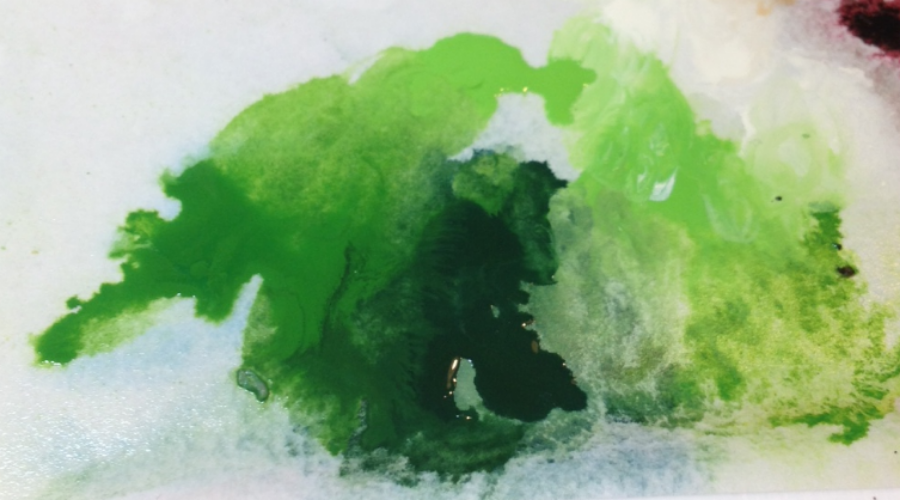
In retrospect, I could have chosen a wider color palette. However, I kept the green shades close together in order to make mixing easier and therefore streamline the layering process on the cloak. 

Time Limit: 4 hours

I chose to paint in 30 minute increments over the course of two nights. To make sure I didn't lose track of time, I'd set a timer on my phone. When the alarm went off, I would put my brush down & take a short break. In that time, I'd decide what to paint next & make sure I was still managing my time wisely-- a great habit I'm trying to create for myself.

Step-by-Step Front


Step-by-Step Back


The Results

The staff was a happy accident. Since Bones are made of plastic, sometimes they get warped and bent. It's an easy fix to soak them in hot water and reposition them while they cool. However, I figured I'd work with the bent staff as-is and paint it as if it were a living, magical vine. I'm also happy with how his eyes turned out-- I painted just enough detail where he has delineated green irises but no pupils. 

As I neared the end of the last timed segments, I focused on small highlights and minor details. With two minutes left, I realized I had entirely forgotten to paint his base-- whoops! I was only able to put a thin base coat down before the timer went off. Once it dried, I refrained from going back to paint another layer. I stayed true to the time limit. It was a good lesson to learn-- that's what makes it a fun challenge!